Second Round of Lens Tests
After playing around with my new camera and doing some tests, I went back to retest the macro lenses (and also the Kodak) a bit more carefully. Some of the funkier tests from round 1 were not worth repeating (such as the macro lens backwards), nor are the random tests I didn’t even document (like a 28mm lens backwards simply acting like a projector, which had a very short working distance)—as interesting macro experiments as they are, they are not useful for the insect camera.
Remember that there are two key components from the standpoint of the lens: the magnification and the working distance (distance from the focal plane of the object to the front of the lens). If the working distance is too short, the insects may be too scared and never go near the focal plane, especially if the camera is hand-held (and thus moving). Some insects don’t care much—I’ve waved point-and-shoots an inch from a bee who couldn’t care less as long as I didn’t touch it or its flower. But others, like dragon flies, are twitchy bastards. From the point of view of working distance, the Kodak outclasses them all, of course. Unfortunately the extension is also so long that the camera will have to include at least a two mirrors to be manageable. This greatly complicates construction. At most of the extensions that I am considering, even the Nikon lens will cover medium format and even 4×5 frame sizes easily. So from the point of view of magnification, it would be nice to have some leeway—for example, to be able to capture larger bugs simply by changing to 4×5 film. From my initial tests, it seems that in most cases, this implies 1:1 or less magnification. Of course it would also be nice to be able to capture some really big closeups, although if its not clear that the insect is flying, there may not be a point in it.
Initial impressions of the performance of the Kodak are intriguing, because the simplicity of that lens affords a lot of flexibility. If the quality is that good at nearly 1:1, there’s a good chance that the conjugate distances can be altered (maybe reversing the lens) to increase the magnification to, say, 2:1. If there will already be fold mirrors in the assembly, this may be as simple as adding or removing optical distance from between the lens and the film—a sort of “zoom” insect camera.
The problem is that, although I’m willing to spend some money on this, needing such a large distance between lens and film may kill the possibility of using this lens. I don’t know if it will be possible to make an assembly that is rigid enough and light enough to carry that can keep the film plane where it needs to be—there is no point in having a laser trigger to photograph the insect if the whole assembly warps itself out of focus as I hold it. It would certainly be a very interesting design problem, but it may just be too expensive.
There is also another advantage to the Kodak, and that is that since the shutter is easy to remove, I can replace it with my fast version. By having the shutter at the aperture plane, the exposure is much more even, since the motion of the shutter opening and closing is the same as changing the aperture diameter. If the shutter is not on the aperture plane, then as it opens and closes it is actually cropping the image, so that the central part of the image is exposed longer than the edges. This is not a big issue in the insect camera, since the shutter opening will be as short as possible to decrease exactly this exposure, but by putting it at the aperture plane, it can also be as small as possible since it only has to open exactly to the diameter of the aperture—and the farther you go from the aperture, the larger the shutter opening has to be, which will decrease its total open duration.
Test Description
Well, since I did this round of tests more carefully, I will also describe it more carefully. The camera used was the Nikon D200. It was mounted on a Nikon bellows extension which was bolted to an aluminum rail. The Nikon lens was, obviously, just attached to the bellows for the test. Whereas before I qualified the extension as “full” or “half”, I actually took out a tape measure this time and got a rough estimate of the actual extension (which I rounded to the nearest half centimeter since it’s not terribly important, or repeatable, at this point). The target was the same as before, but this time it was mounted on a slightly better mount. The procedure was to move it into the field of view at the focal plane, then move the camera through the plane of best focus snapping several pictures to get a sense of how the image behaves out of focus as well. For the Nikon lens the whole camera and lens assembly was moved to focus, but with the Hasselblad and Kodak lenses, only the camera was moved while the lens stayed fixed, since they were not attached to the bellows. In those cases, I used a Nikon BR-2A reversing adapter (a male F-mount on one side with a male 52×0.75mm thread on the other) with a super-multicoated Hoya UV filter on it to protect the sensor from dust. I believe all “non-slim” filters have the male thread on one side and female on the other, so this setup should work with almost any filter, unfortunately, since the filter is “backwards”, it will be hard to find a lens cap that fits (in case you want to leave the setup built somewhere—I can’t do that since my lab is also my garage).
Since the Nikon 105mm auto-focus lens has a very complex focusing movement, it was tested at both infinity and closest focus. The Hasselblad lenses, on the other hand, move as a unit, so they were simply set to infinity.
That being said, the setup has a few problems:
1. The target is not on any sort of a track. It is positioned by hand, and there is no guarantee it is actually parallel with the sensor plane. Also, I have no precise way of moving it across the field of view, so most of the time I get what I get.
2. There is no diffuser behind the target, so at the smaller apertures, the lamp does not illuminate it evenly since, effectively, the depth of field increases and the bulb is closer to being in focus (even if it is far from the target). This will be fixed soon since there is some scrap white diffusing plastic (for fluorescent lamp fixtures) at work. I just didn’t have any on me last night.
3. I cannot connect the non-Nikon lenses to the bellows directly. I am going to get a Hasselblad to Nikon adapter soon, but I don’t want to get a piece of crap, so I’m going to look into it a bit. There is no way the Kodak will ever “fit” on the Nikon camera without my own custom adapter, so in both cases the lens is held in front of the bellows but there is no guarantee that it is either centered on the sensor or parallel to the sensor plane.
4. The belows not only serve as a “sensor shade” but also happen to be a height that I can match on almost every other component, including some random Nikon F-mounts to just mount lenses in space. I have no way right now of making the height of the camera be right without attaching it to the bellows, thus, I didn’t test the 105mm lens with no extension at all. This is a matter of making a simple risor plate; if I get to the point of doing that I will rework the entire setup so I can do some depth of field measurements, too.
Considering all these problems, don’t be surprised if I don’t redo the tests with a better setup.
Summary of Results
Below is a table of the basic test parameters, as in my last post. Here I will detail some of the calculations involved:
1. The first task is to determine the size of the pixels on the sensor. Sometimes this information is available, but sometimes it is not. Since utmost precision is not critical, for these tests it is enough to simply look up the sensor size and the number of pixels. In the case of the Nikon D200, the sensor is 23.6×15.8mm, and the image is 3872×2592 pixels. Thus the pixel size, or, more conveniently the pixels per millimeter at the image, is
[tex]\text{pmm}_{\text{image}} = \frac{3872}{23.6} \approx 164.07[/tex].
If you calculate it with the height dimensions instead, there is a 0.0172 difference; again, precision is not absolutely critical here.
2. After I download the images to the computer, I measure the pixel width of one of the target’s many bars, and then using the specifications of the target, I convert this to pixels per millimeter at the object (which is tabulated below). The optical magnification is then
[tex]M = \frac{\text{pmm}_{\text{object}}}{\text{pmm}_{\text{image}}}[/tex].
The fields of view (FOV) can then be calculated by multiplying the size of the image (or size of the frame) by the magnification. You can think of it as unit conversion; since we defined the magnification (as is commonly done) as the ratio of an object dimension to the image dimension, multiplying it by an image dimension yields an object dimension (because “image cancels out”). For those of you not photographically inclined, 6×6 format, or medium format, has approximately a 6x6cm frame size (hence its name); it is commonly referred to as “2 1/4” as its approximate frame size in inches. 4×5, on the other hand, the smallest of the “large” formats, refers to a 4 by 5 inch frame (101x127mm).
| ID | Lens/condition | Extension (mm) | Working distance (mm) | Pixels/mm | Magnification | 6×6 FOV (mm) | 4×5 FOV (mm) |
| 1 | Nikon 105mm f2.8 AF, closest focus | 210 | 80 | 661 | 4.03 | 15×15 | 25×32 |
| 2 | 105mm, infinity | 210 | 105 | 342 | 2.09 | 29×29 | 49×61 |
| 3 | 105mm, closest | 100 | 90 | 429 | 2.61 | 23×23 | 39×49 |
| 4 | 105mm, infinity | 100 | 150 | 196 | 1.19 | 50×50 | 85×106 |
| 5 | 105mm, closest | 50 | 105 | 288 | 1.76 | 34×34 | 58×72 |
| 6 | 105mm, infinity | 50 | 270 | 92 | 0.561 | 107×107 | 181×226 |
| 7 | Hasselblad 120mm CF f/4 | 210 | 130 | 256 | 1.56 | 38×38 | 65×81 |
| 8 | 120mm | 120 | 210 | 144 | 0.878 | 68×68 | 116×145 |
| 9 | Kodak 14″ (356mm) Commercial Ektar | 710 | 730 | 176 | 1.07 | 56×56 | 95×118 |
Image Quality Samples
As with the last post, some of the image sequences were adjusted since I wasn’t careful enough about getting a nice, clear exposure. Also, the same area of the target is not imaged for all conditions, because of the problems of my setup. Lastly, the images at the smaller apertures are generally bad, because not only was the illumination bad, but the exposures were so long that in some cases there was some motion blur (once I get my hands on the Nikon Camera Control Pro that won’t be a problem anymore). The key is to look at the high-contrast edges of the target lines for excessive blur, color fringing, or other problems. Any blur that looks highly directional is motion blur.
While creating the animations, I noticed that some of the tests done below full aperture suffered from some strange ghosting, where it seems different parts of the target are moving in different directions. I’m not sure where this is coming from yet. There are definitely diffraction effects visible since we are shining light through the slits that are the target resolution bars, but I’m not convinced this alone is the source of this ghosting, although in the test of the 120mm lens at f/32 it is obvious the target seems to be “pulled” by the brightest spot on the lamp. In fact, I am starting to think that this phenomenon also causes extreme chromatic aberrations in the Ektar tests when the edge of the lamp is “visible” through any part of the target—perhaps by not diffusing the light, since it is not “coming” from one plane and I’m using a translucent target, the images have these problems. Again, don’t be surprised if I do these tests a second time.
Anyway, here are the through-focus animations for the test conditions above, each at three different aperture diameters, and sorted in descending order of magnification.
| ID | Through-focus | Notes |
| ID=1 (M=4.02, WD=80mm) f/2.8 | 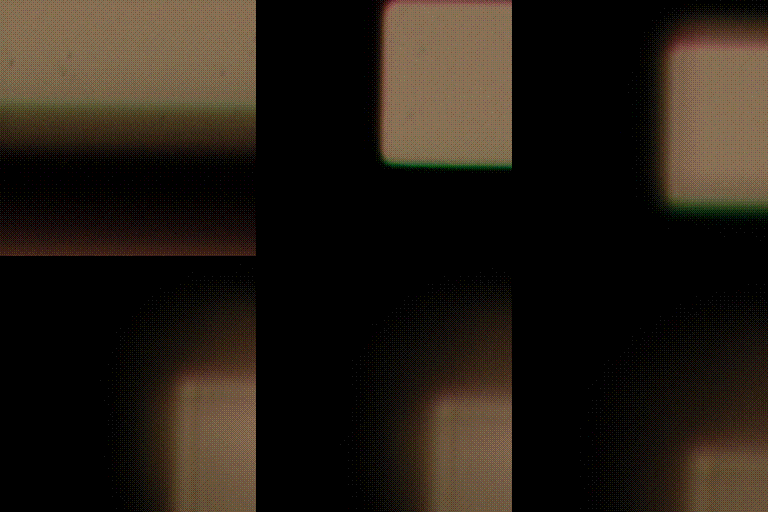 |
In this, the highest magnification case, at full aperture, there is a bit of chromatic aberration off the focal plane and some residual also at the plane of best focus… |
| ID=1 (M=4.02, WD=80mm) f/8 | 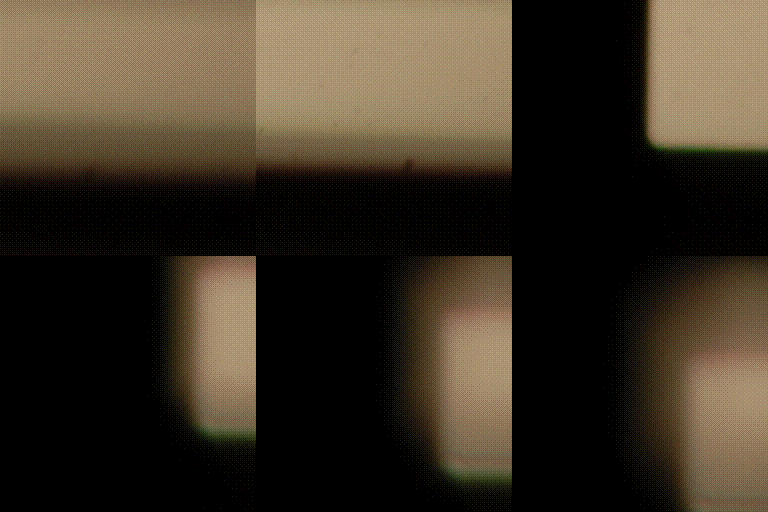 |
…but stopping down the lens resolves most of that problem (although there is still some visible at the plane of best focus). Remember that these are 100% crops, that is, one pixel in the animation is one pixel on the sensor, so if any problems are visible here, they would surely show up in a large print of the photographs. |
| ID=1 (M=4.02, WD=80mm) f/32 | 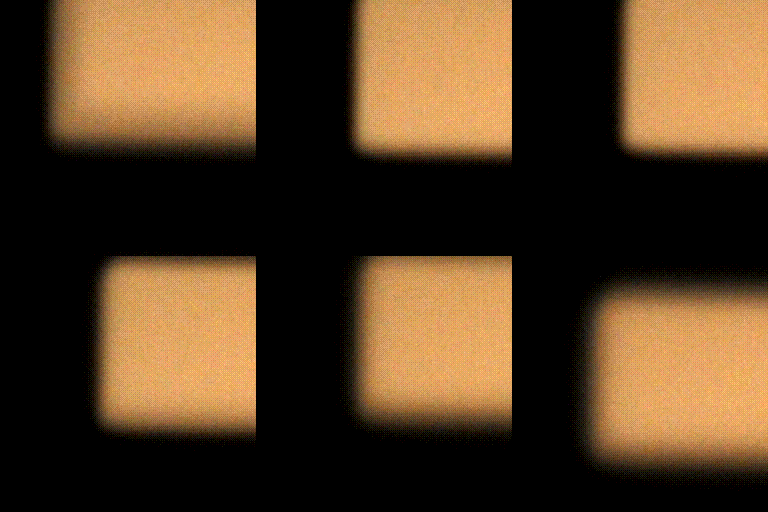 |
This animation suffers from some motion blur due to the longer exposure. There doesn’t seem to be a discernible “best focus”, implying that either the motion blur obscured it, or that diffraction blur has become apparent. At these small apertures, it is not uncommon for diffraction blur to completely hide the depth of field. |
| ID=3 (M=2.61, WD=90mm) f/2.8 | 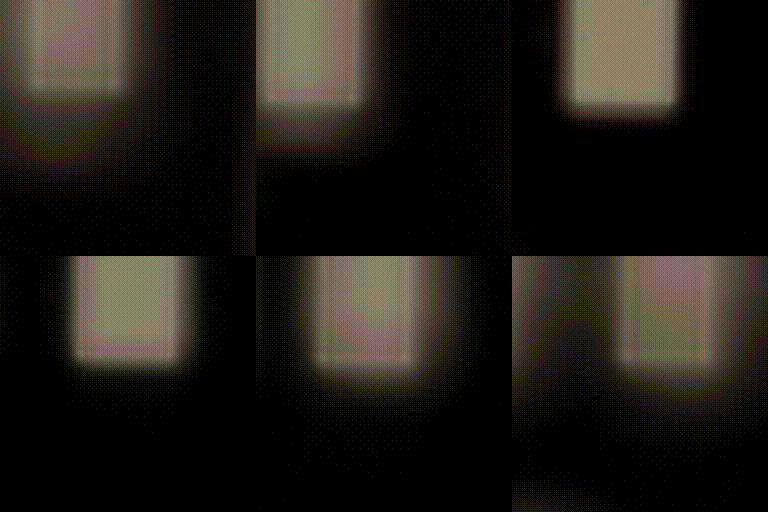 |
In this case, the best focus is either between images, or the configuration is not as sharp as it could be. However, there don’t seem to be any visible color problems. The black lines offset from the edges of the resolution target bars are due to diffraction caused by the edges of the bars themselves—we have a very thin mask (the chrome on the glass) and we are illuminating from behind. If this were a reflective target, this wouldn’t be a problem. The black lines are destructive interference from the diffracted rays; since it’s not visible in all cases it may have to do with a combination of lamp distance and focal situation; perhaps adding the diffuser will remove this. |
| ID=3 (M=2.61, WD=90mm) f/8 |  |
With the lens stopped down, the situation does not change much, although this time it’s clear I took a picture closer to the plane of best focus since there is one frame that is very sharp. |
| ID=3 (M=2.61, WD=90mm) f/32 | 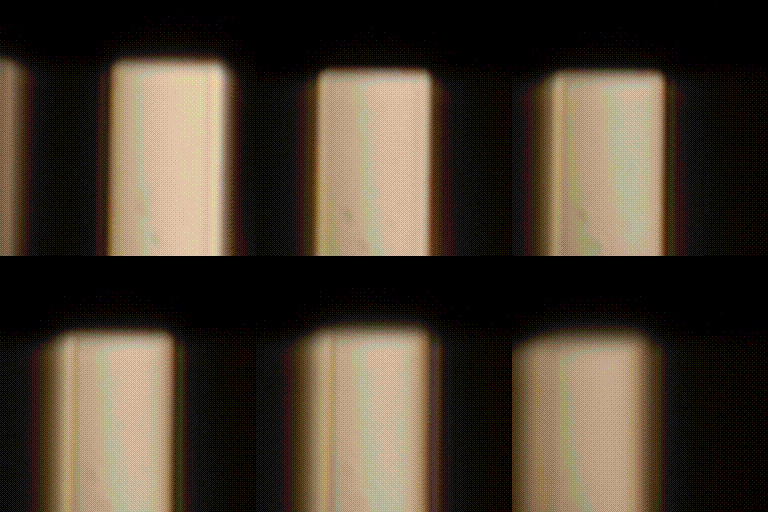 |
Here again we see a bit of motion blur, and again, there isn’t one or two frames particularly sharper than others, so it’s possible diffraction blur is already in effect. |
| ID=2 (M=2.09, WD=105mm) f/2.8 | 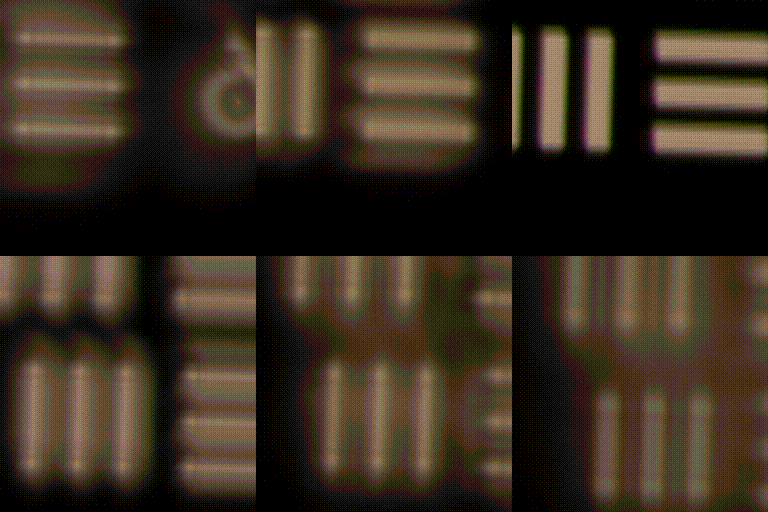 |
Here again we see the diffraction around the chrome mask of the target itself. But there are also chromatic aberrations and some ghosting, the source of which is unclear. It could be another aberration, or haze off a surface, though I doubt the latter since all the filters I’m using for protection are multicoated and brand new. The more I look at these, the more I think not having a diffuser directly behind the target is causing problems. |
| ID=2 (M=2.09, WD=105mm) f/8 | 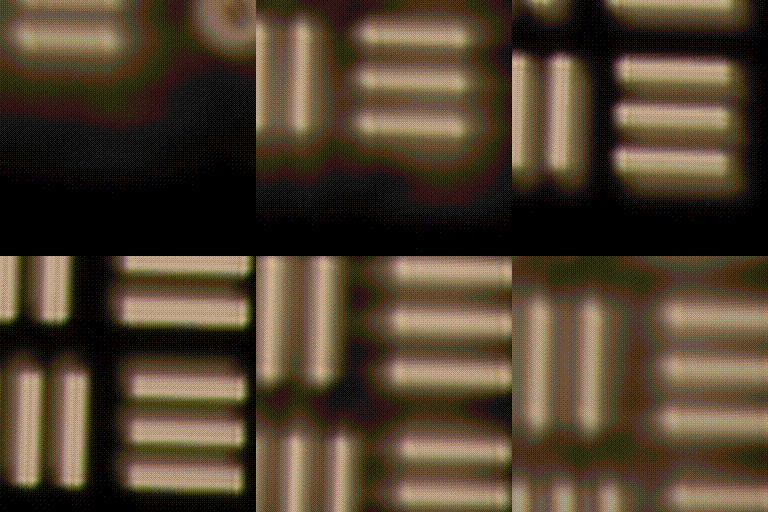 |
Stopping down the lens gives us a much sharper best focus image, though it still seems to have a bit of chromatic aberration. However this asymmetrical ghosting is still there, and, as before, it inverts direction across the plane of best focus. My guess is then that this is a lens issue. |
| ID=2 (M=2.09, WD=105mm) f/32 |  |
Here we see a definite transition out of the depth of field. Clearly I didn’t go through enough of a focal range because the first few images are sharpest—so either I missed the best focus plane or again it was obscured by diffraction blur. |
| ID=5 (M=1.76, WD=105mm) f/2.8 | 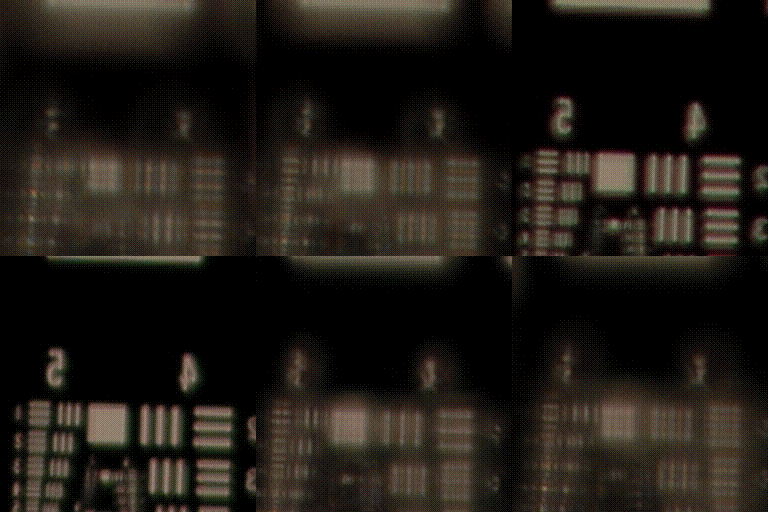 |
The image quality here is pretty good, I’d say. The sharpest of the images is not as sharp as it could be. (Beware that the dithering also deteriorates the apparent sharpness.) |
| ID=5 (M=1.76, WD=105mm) f/8 | 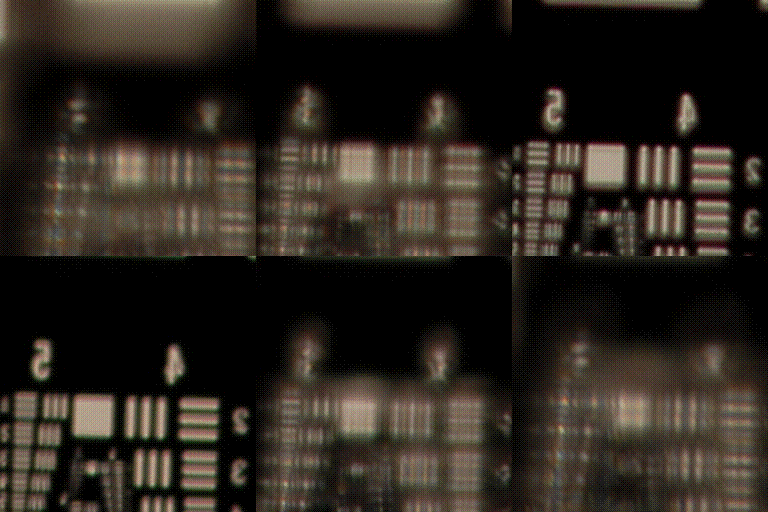 |
In this one, we can see some strange color artifacts in the extreme out-of-focus images where diffraction around the target bars is obvious. I believe these are in fact not actual chromatic aberrations of the lens, but rather artifacts generated by the fact that the color in the D200’s sensor is from a Bayer filter. |
| ID=5 (M=1.76, WD=105mm) f/32 | 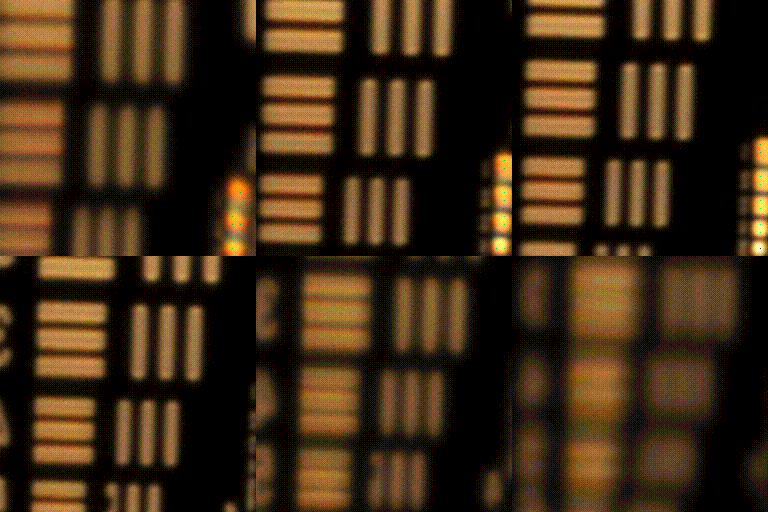 |
This case may also have some motion blur, but I’m convinced the lack of sharpness in the sharpest images is diffraction blur. |
| ID=7 (M=1.56, WD=130mm) f/4 | 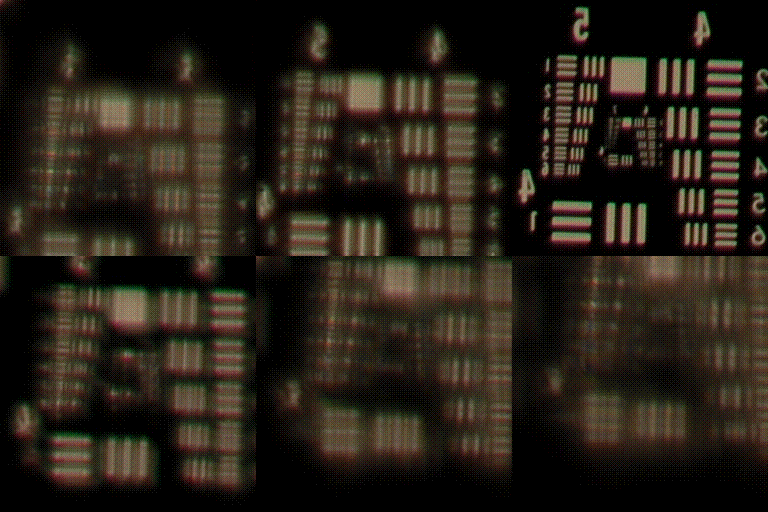 |
In this animation we can see some definite lateral chromatic aberration, because the tops of the target elements look green and the bottoms look red. Note how this looks different than the diffraction color artifacts of ID=5 f/2.8. |
| ID=7 (M=1.56, WD=130mm) f/11 | 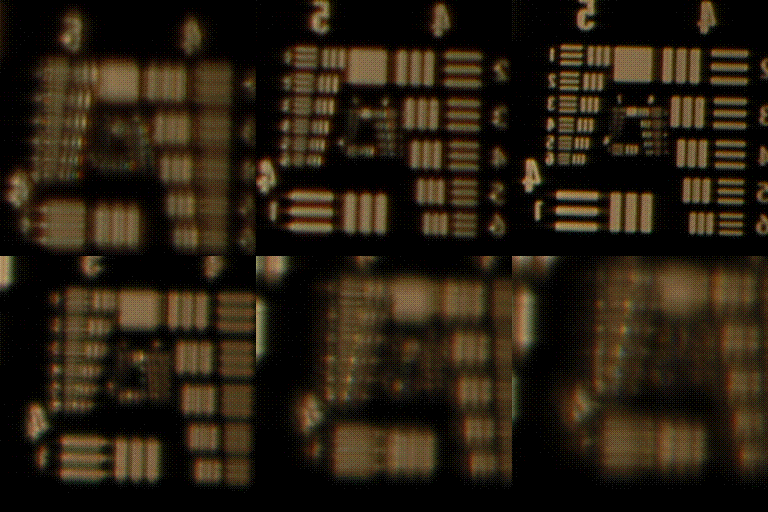 |
Reducing the aperture diameter seems to eliminate all the chromatic problems, |
| ID=7 (M=1.56, WD=130mm) f/32 | 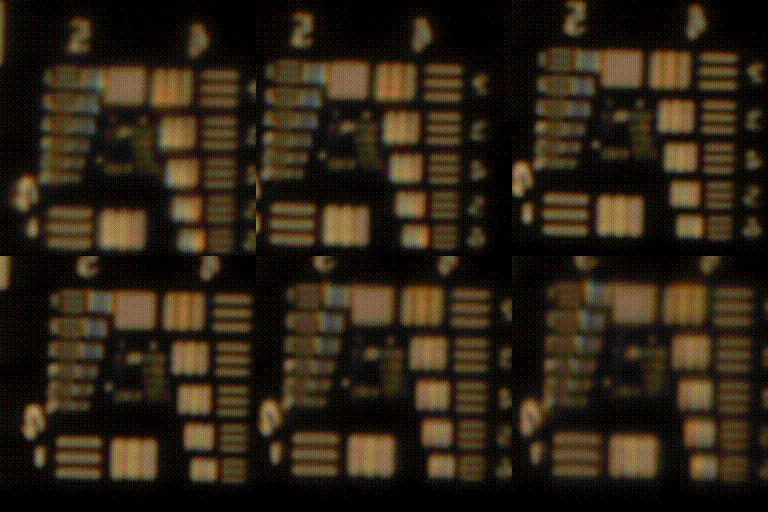 |
Here we see again some color artifacts that are a consequence of the D200’s Bayer filter and interpolation engine. There is also definitely diffraction blur at play here. |
| ID=4 (M=1.19, WD=150mm) f/2.8 | 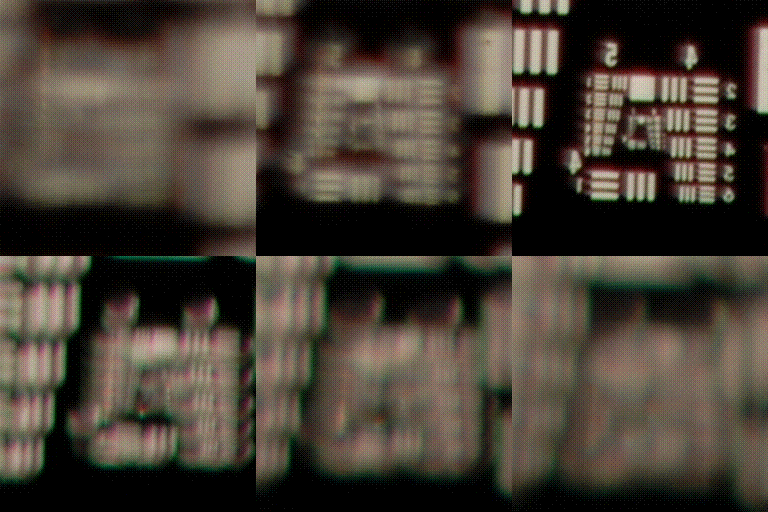 |
This case has some chromatic problems, too. Because the color fringes are not as sharp, my guess is that there is some more longitudinal chromatic aberration than in the case of ID=7 f/4. |
| ID=4 (M=1.19, WD=150mm) f/8 | 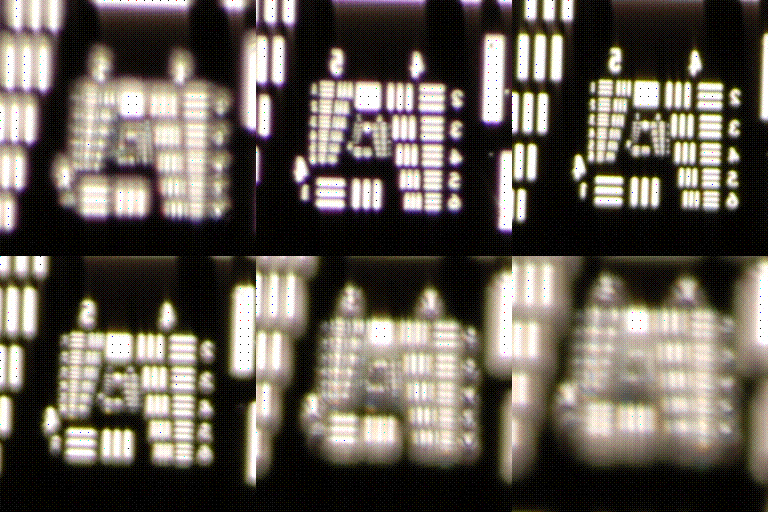 |
Some of the ghosting in these images may actually be because they seem to have been overexposed a bit. You will also note the very obviously terrible black dots from dithering. Other than these test/visualization problems, there is some definite longitudinal color (short for chromatic aberration) because as the sequence approaches the best focus, the target elements seem to have a purplish haze, and as it moves away, they have a greenish haze. I have heard of purple fringing coming from the microlenses employed in many CCD sensors (see here) but the chromatic problems we see here seem to be different. |
| ID=4 (M=1.19, WD=150mm) f/32 |  |
As before, reducing the aperture to a minimum removes any color problems but sharpness suffers due to diffraction. |
| ID=9 (M=1.07, WD=730mm) f/6.3 |  |
By the f-number you should know this is the mighty Kodak. At full aperture the image is quite sharp, but there is some strong lateral color. |
| ID=9 (M=1.07, WD=730mm) f/16 | 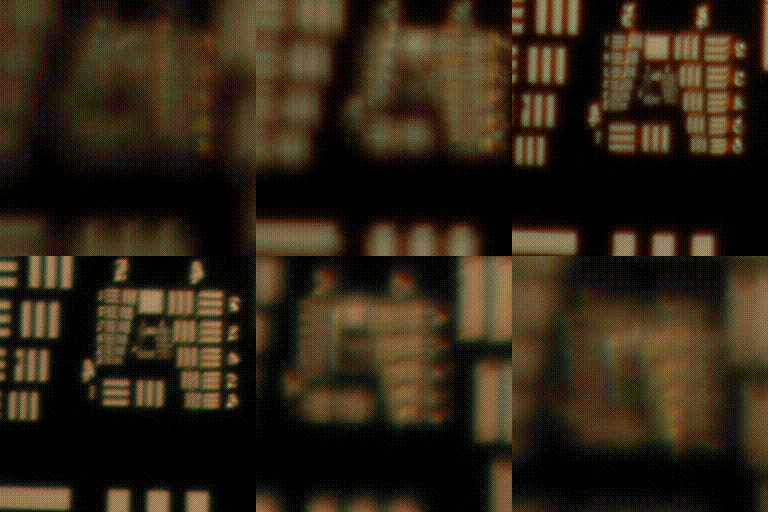 |
Reducing the aperture doesn’t completely remove the chromatic aberration. In fact there are still some prominent gold-colored halos, which may in fact not be chromatic aberration but rather a different lens defect. |
| ID=9 (M=1.07, WD=730mm) f/64 | 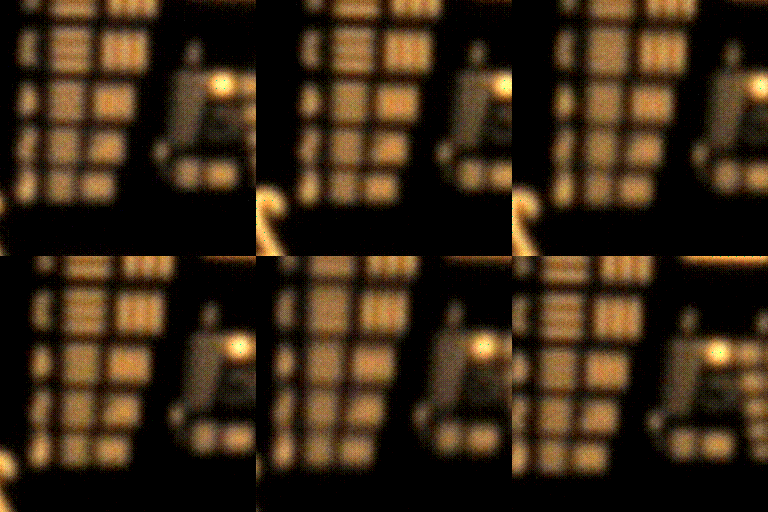 |
With the lens fully stopped down, it’s clear diffraction blur is hiding any other aberrations. |
| ID=8 (M=0.878, WD=210mm) f/4 | 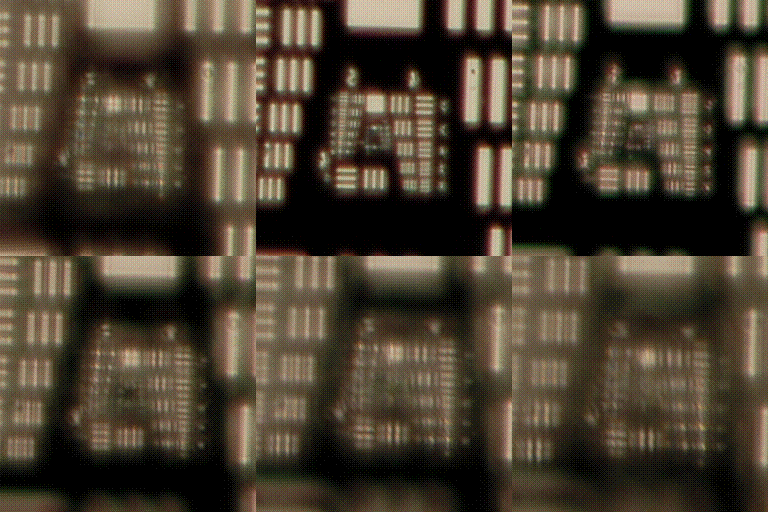 |
In this case we see top-notch performance. Seeing the interference patterns of diffraction through the target bars is a good sign the lens is making a very good image. There is very little, if any, chromatic aberration. |
| ID=8 (M=0.878, WD=210mm) f/11 | 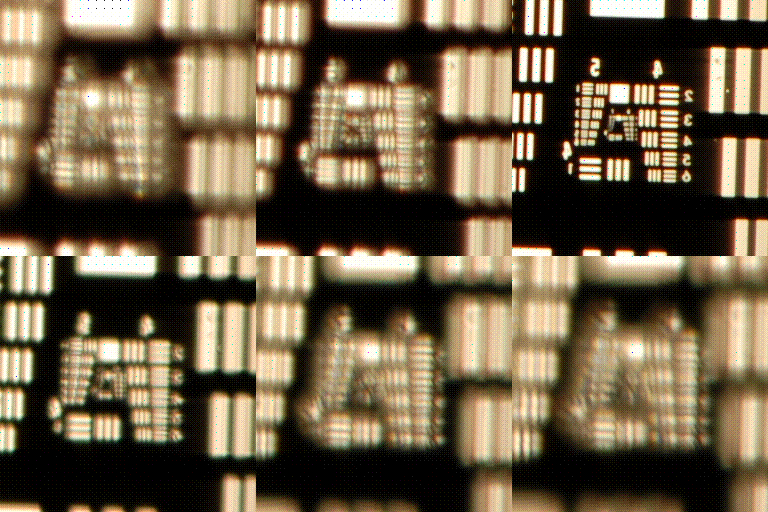 |
This set is a bit overexposed. I don’t think it looks any better than the one above. |
| ID=8 (M=0.878, WD=210mm) f/32 |  |
Here again we see the Bayer filter artifacts, as well as diffraction blur. |
| ID=6 (M=0.561, WD=270mm) f/2.8 | 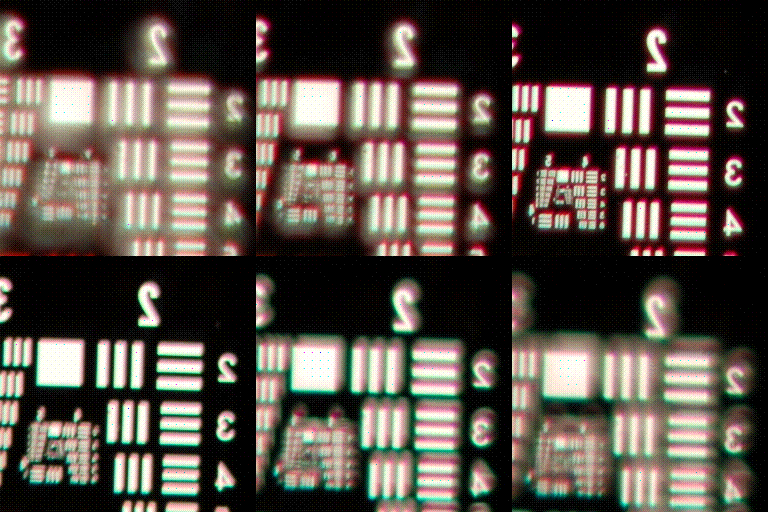 |
This set suffers very clearly of lateral color. |
| ID=6 (M=0.561, WD=270mm) f/8 | 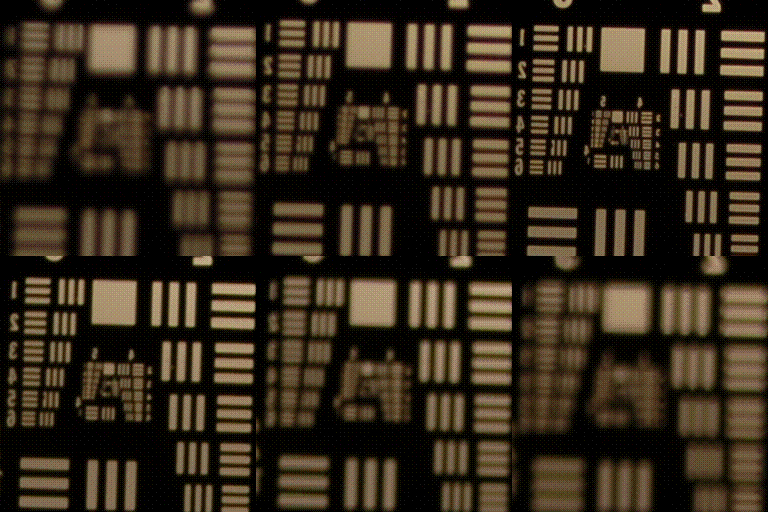 |
Reducing the aperture diameter does wonders in this case. The best focus images are fantastic. |
| ID=6 (M=0.561, WD=270mm) f/32 | 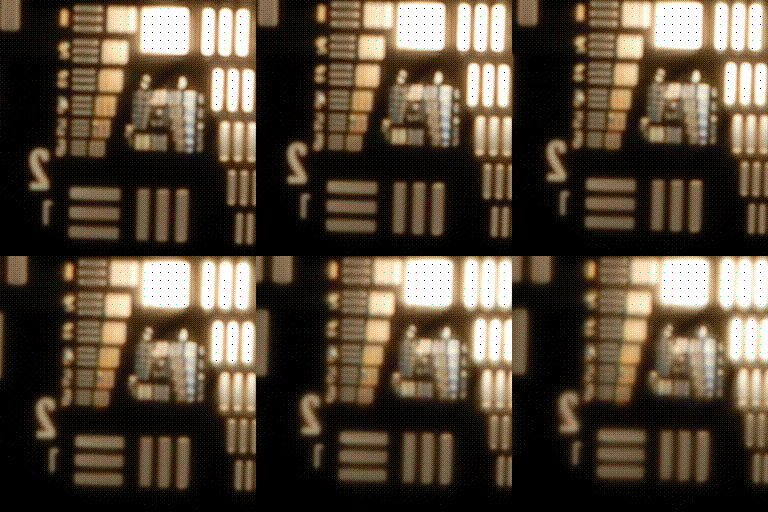 |
Same as before—diffraction blur is apparent. |
Looking through the images makes me really wish my setup was a bit better. I would like to have better control of the target movement. But these should still give a pretty decent impression of the performance of the lenses, and there are other factors that will certainly eliminate some of these configurations—I doubt if anything with less than 200mm working distance is usable as a hand-held camera for the jittery bugs. This is something I will have to consult with Frans (the originator of the insect camera concept) on.
About this entry
You’re currently reading “Second Round of Lens Tests,” an entry on Insect Camera
- Published:
- 01.07.07 / 10am
- Category:
- Lens
No comments
Jump to comment form | comments rss [?] | trackback uri [?]